Deploy OpenClaw on Railway: A Complete Guide

What is OpenClaw?
OpenClaw (formerly Clawdbot / Moltbot) is an open-source self-hosted AI personal assistant framework. It can interact with you through chat platforms like Telegram, Discord, WhatsApp, and Slack, helping you manage emails, schedule events, execute code, browse the web, automate repetitive tasks, and more. You have full control over your data, and all information is kept on your own instance.
Why Choose Railway?
Railway is currently the easiest and most stable cloud-based method for deploying OpenClaw. Compared to renting a VPS or setting up Docker yourself, Railway's advantages include:
- One-click deployment template: Strongly recommended in the official documentation (docs.openclaw.ai), with over 2000 production deployments from the community template.
- Zero terminal operations: Configuration is entirely done through the in-browser
/setupwizard, without typing a single command. - Built-in HTTPS and Domains: Railway automatically provisions a
*.up.railway.appdomain and SSL certificates, and supports custom domains as well. - Persistent storage: Your configuration and data are saved using Railway Volumes, meaning redeployments will not cause data loss.
- Low cost: The free tier is enough for initial testing, and the Hobby plan starts around $5/month depending on traffic.
Prerequisites
Before you start, you need the following:
| Item | Description |
|---|---|
| Railway Account | Register at . We strongly recommend logging in with GitHub. No credit card required to use the free tier. |
| AI Provider API Key | At least one: Anthropic (Claude), OpenAI (GPT), Google Gemini, or OpenRouter (recommended for beginners as it offers free credits and low-cost model switching). |
| Chat Channel Token (Optional) | Telegram Bot Token (from BotFather, easiest), Discord Bot Token, Slack App Token, etc. |
Full Deployment Steps (Takes approx. 5–12 mins)
Step 1: Click the One-Click Deployment Template
Currently, the most used and recommended template paths are:
- Official Document Link (Recommended): Go to
https://railway.com/new/template/openclaw-railway-templateand click the "Deploy on Railway" button on the page. - Mainstream Community Template: Search for "OpenClaw" or "Clawdbot" in the Railway template marketplace, and select a template with high deployments and active maintenance.
Clicking this will redirect you to the Railway interface. Press "Deploy Now" to begin.
Step 2: Set Variables
Railway will prompt you to enter required and recommended environment variables. The template includes hints; just follow them:
| Variable Name | Suggested Value / Description | Required? |
|---|---|---|
SETUP_PASSWORD | Set a strong password (8-20 characters, must remember this, used for logging into the /setup wizard) | Required |
OPENCLAW_GATEWAY_TOKEN | A secure string (32+ chars, ideally generated by a password manager; the authentication key between the app and the Gateway) | Required |
PORT | 8080 (pre-configured in most templates, leave blank or 8080) | Recommended |
OPENCLAW_STATE_DIR | /data/.openclaw (persistent path for configuration and credentials) | Recommended |
OPENCLAW_WORKSPACE_DIR | /data/workspace (persistent path for your workspace) | Recommended |
ENABLE_WEB_TUI | true (enables the web terminal UI for easy debugging) | Optional |
Tip: Other variables like
OPENAI_API_KEY,ANTHROPIC_API_KEY,GEMINI_API_KEY, etc. can be filled out later in the Setup Wizard. It's fine to skip them at this stage.
Step 3: Add Volume (Persistent Storage, Do Not Forget!)
This step is critical. Railway's container file system is ephemeral, and only mounted Volumes will retain data across restarts and redeployments.
How to do it:
- After deployment, go to your Service page.
- Find the Volumes section and click + New Volume.
- The Mount Path must be set to
/data. This is where configuration files, long-term memory, and device pairing info will be stored. - We recommend allocating 5GB of space (more than enough for personal use).
- After creation, click Redeploy to apply the Volume.
Warning: Without a Volume, every restart or Redeploy will wipe your settings, and you'll have to start from scratch.
Step 4: Enable Public Networking
In your Service settings:
- Go to Settings → Public Networking.
- Enable HTTP Proxy and set the port to
8080. - Railway will automatically assign a domain (like
https://<project-name>-production.up.railway.app), and you can also bind a custom domain here.
Copy and save this public URL; you'll need it for the next steps.
Step 5: Wait for Deployment to Finish
The Build and Deploy process usually takes 2-5 minutes. You can check the logs in Railway under Deployments → View Logs. When you see something like this, it's successfully running:
Step 6: Enter the Setup Wizard (Crucial Step)
Open your browser and navigate to:
The system will prompt you with an HTTP Basic Auth window:
- Username: Type anything (like
admin), it gets ignored. - Password: Enter the
SETUP_PASSWORDyou configured in Step 2.
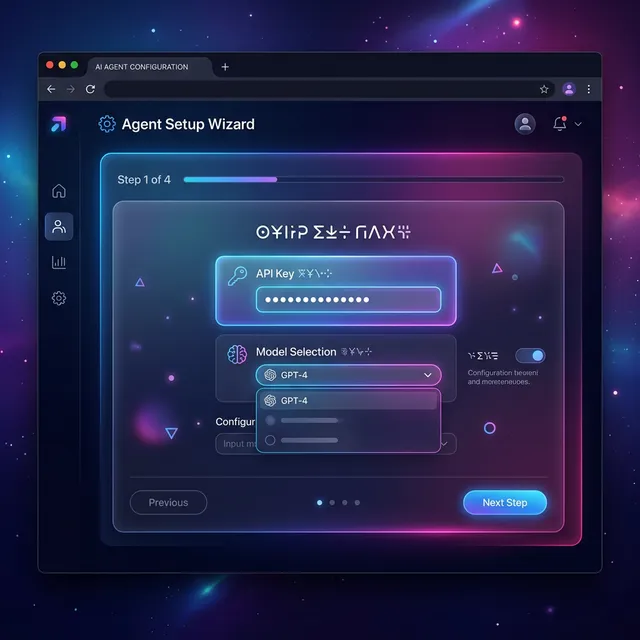
After logging in, you'll be in the Setup Wizard. Follow the on-screen steps:
- Select LLM Provider: We suggest OpenRouter (free tier for testing), Anthropic, Google Gemini, or OpenAI.
- Enter API Key: Paste the provider's API Key. If you don't have one, register at to get free credits for testing different models like Claude, Gemini, and Llama.
- Bind Chat Channel (Optional but recommended): Telegram is simplest—get a Bot Token from BotFather. Discord requires checking
botandapplications.commandsscopes in the OAuth2 URL Generator before inviting the bot. - Enter Gateway Token: Input the
OPENCLAW_GATEWAY_TOKENyou set in Step 2. - Additional Options: You can leave browser tools, filesystem access, etc., on their default values for now.
- Click Run Setup / Save. Wait 10-30 seconds until it shows success.
Step 7: Device Pairing and Getting Started
- Use Telegram (or your configured app) to find your Bot and send any message (like
hior/start). - The Bot will reply with "Pairing Required".
- Return to your browser and open
https://YourRailwayDomain/openclaw(or the root URL). - In the Control UI, find the Pending Devices list and click Approve for your device.
- Send another message, and you can now interact with your AI normally!
Useful URLs After Deployment
| URL | Purpose |
|---|---|
https://YourDomain/setup | Setup Wizard (password protected) for config modifications and backups |
https://YourDomain/openclaw | Control UI Dashboard for device management and chat logs |
https://YourDomain/tui | Web Terminal UI (Requires ENABLE_WEB_TUI=true) |
Common Issues & Troubleshooting
"Internal error" or "Gateway did not become ready"
Wait 1-2 minutes and try again. If it persists, click Redeploy in Railway. Check the logs for clear error formatting (e.g. invalid API keys).
Control UI shows "gateway disconnected" or Authentication Errors
Do not visit /openclaw directly right away. Open /setup first, and click the "Open OpenClaw UI" button there. The Setup page passes the authentication token to the UI; skipping it results in a missing token and connection failure.
"Pairing required" or "Disconnected (1008)"
Go to https://YourDomain/setup, and in the Devices area manually click "Manage Devices" or "Approve Latest Request". Ensure the Gateway Token is entered correctly (case-sensitive).
Switching AI Models
You can switch models using the OpenClaw CLI. If Web TUI is enabled, run in /tui:
Alternatively, return to /setup to update the provider and API key, then run Setup again.
Configuration Seems Corrupted or Strange Errors
Go to /setup and click the "Run Doctor" button. This executes openclaw doctor --repair, which performs a health check, backs up your setting, and removes unrecognized or broken configurations.
Cost Estimation
| Item | Cost |
|---|---|
| Railway | Free tier is sufficient for testing; Hobby tier starts around $5/month. |
| LLM Inference | Can start near zero with OpenRouter's free models; paid models like Claude Sonnet bill based on usage. |
Advanced Operations
Accessing the Container Shell
If you need to run terminal commands:
- Web TUI: Deploy with
ENABLE_WEB_TUI=trueand visit/tui. - Railway CLI: Install the Railway CLI locally, connect using
railway link, and userailway shellto enter the container.
Backups and Migration
- Manual Backup: Go to
/setupand click Export Backup (in.zip). You can restore this on any platform (VPS, Docker, Home Server). - Automated Backups: You can use
rcloneto periodically sync the/datadirectory to cloud storage. - Migrating Away: Export a backup
.zip, deploy OpenClaw on the new platform, and import it. You are never locked into Railway.
Multi-Instance Deployment
You can deploy the template on Railway multiple times. Each instance gets its own domain, Volume, and configuration, making it easy to separate personal and work usage.
Summary
The entire workflow to deploy OpenClaw on Railway comprises five key steps: Click Template → Set Variables → Mount Volume → Enable Public Networking → Complete Setup Wizard. It's done entirely in the browser. If you hit any snags, reviewing Railway's deploy logs usually points you right to the issue. *